1.Log into pbc
2.Double click on purchase order module
3.Double click on raise new purchase order
4.Type in all or part of the supplier name and then choose from the list
5.You can type in a contact name and supplier reference number if you want to. Then click on next
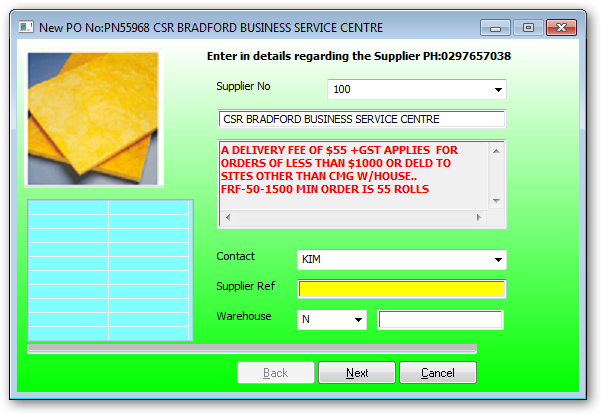
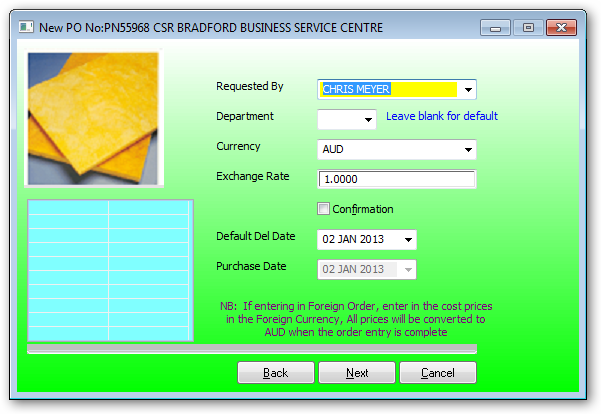
6.If you have already rung the order through then click on confirmation
7.Put the expected delivery date in the default del date
8.Click on next
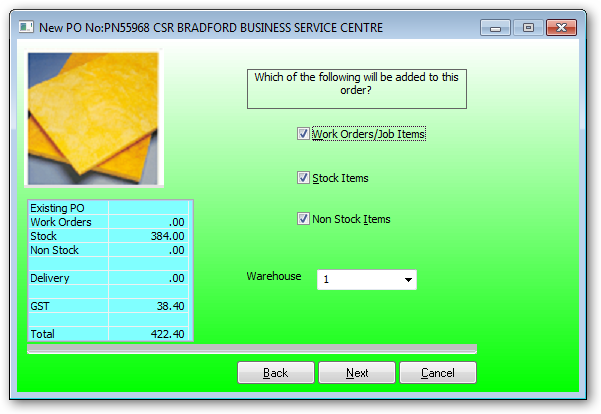
9.Tick the appropriate box for the order you are placing. You can tick more than one box. This will open a screen that requires you to fill in the information asked for. Work orders/Job items for job costing and will increase WIP on receipt, Stock items will increase inventory on receipt and Non stock Items require a general ledger no for an asset or the expense.
10.Click on next
Work Orders/Job Items:
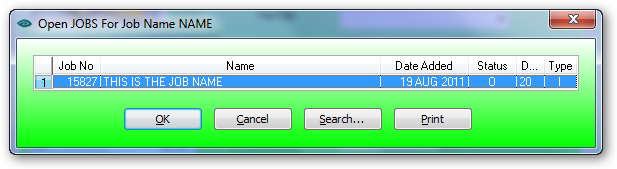
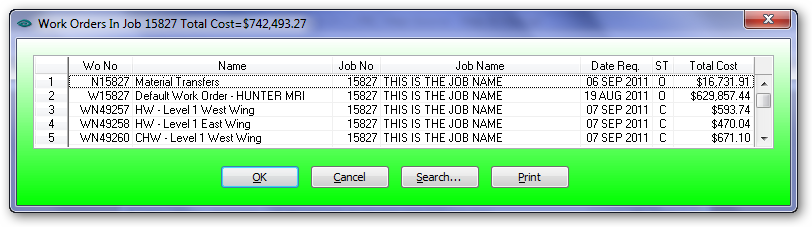
If a part no is added the description will be defaulted as per inventory master file. This purchase line will still go to the work order costing not in the inventory warehouse.
Press Add to records work order details.
After pressing Add then the next WO details are requested. If no more WO details are required then press CLEAR before pressing NEXT for entering Stock items.
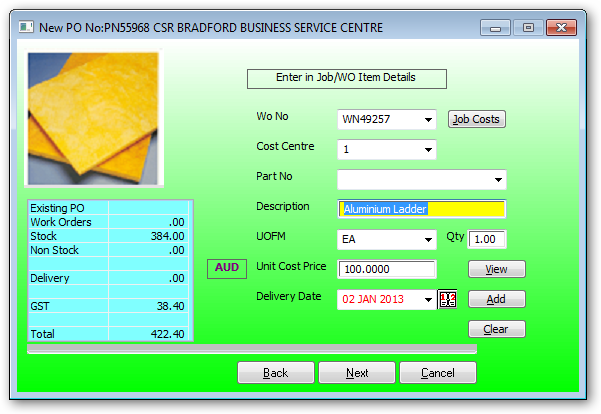
Stock Items:
11.The next screen that appears is for the ordering of stock items as this is what was ticked on the prior screen
12.Enter the part number or part of the part number or part of the description. Eg. I entered heater fan. A list will appear of all part numbers with the words heater fan in the description. Choose the correct item
13.Click on enter until you get to the uofm. Check that the unit of measure is correct. Eg. Ea for each
14.Click on quantity and enter the amount you are going to order
15.Check that the unit cost is correct
16.Enter the required delivery date
17.Click on add
18.Continue entering all the part numbers of the items that you are ordering
19.On the left side of the purchase order screen you will notice the dollar value of the goods that you have ordered. Every time you add a new item the dollar value will increase accordingly.
Enter the Item No/Part No if known or part of the description of the part number and a automatic search will display all items that satisfy the search criteria.
All items supplied by this supplier can be displayed by pressing the dropdown arrow next to the part No field.
Note:
If all items are not being displayed then a rebuild on the indexes is required for the warehouse_details file (supplier_code) . See the PBC system administrator to perform this function.
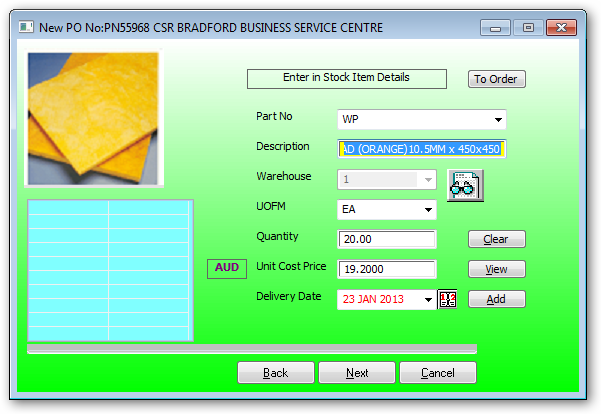
If only the recommended items are to be displayed the use the "To Order" button to limit the items on the popup.
![]()
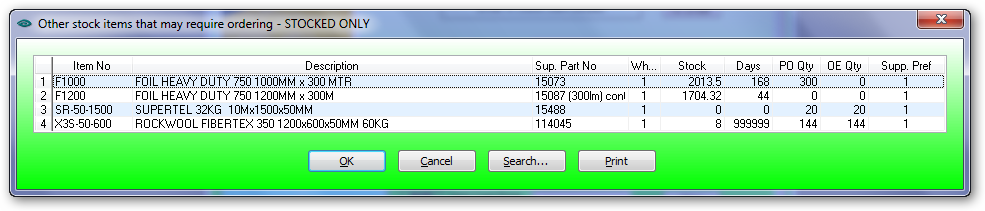
Items that may require ordering:
This button will display those items supplied by this supplier as defined in the warehouse details file with the following criteria:
reorder_qty > 0
Stocked Item checked (True)
OR Qty Available < 0
If the above criteria is satisfied then then the item will be on the recommended items to purchase popup.
If all items for this supplier is required to be displayed the use the drop down button next to the item no.

Non Stock Items:
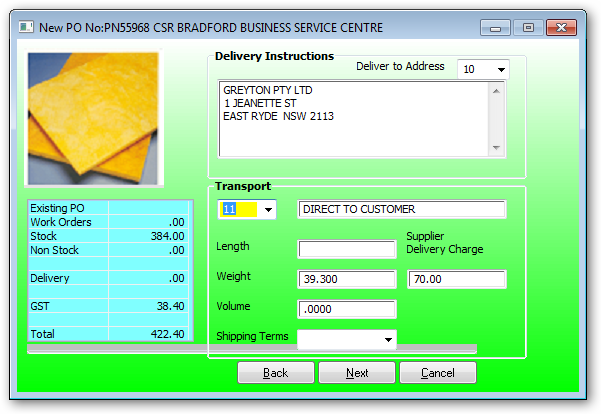
Delivery Instructions:
20.When you have entered all the items click on next
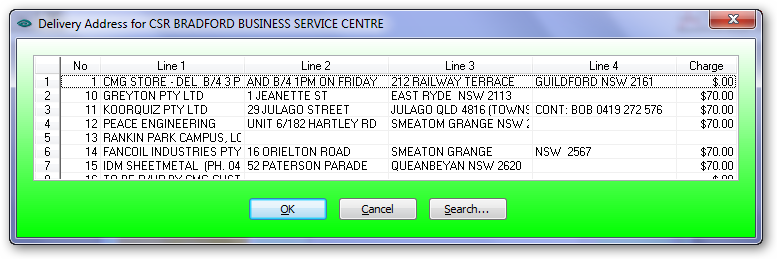
21.A delivery address box will appear. Double click on the appropriate line
22.The next screen is for delivery details. Eg. You may want the goods delivered direct to the job. Fill in the details if required and click on next or just click on next if details not required
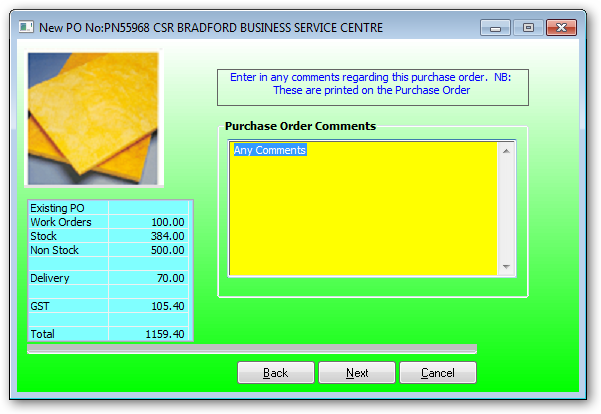
23.Type in any purchase order comments and click on next
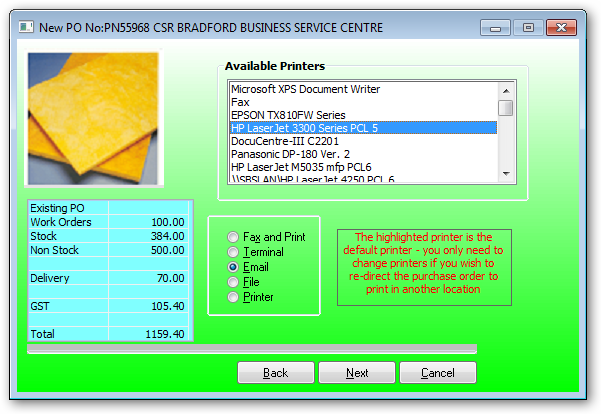
24.On this screen you can choose how to send the purchase order. Click on the appropriate button and then click on next

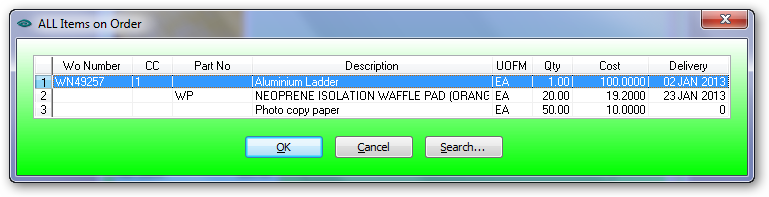
25.Click on finish and a list of the items ordered will appear. This is where you can go back and modify the order
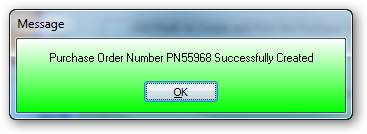
26.If everything is o.k. click on finish. The purchase order number will then be displayed along with the message that the purchase order number was successfully created
Press Cancel to go back to completing this purchase order otherwise Press OK to finish creating the purchase order.
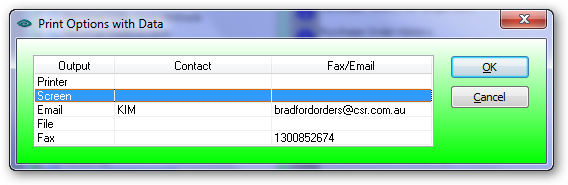
Select the required print option.