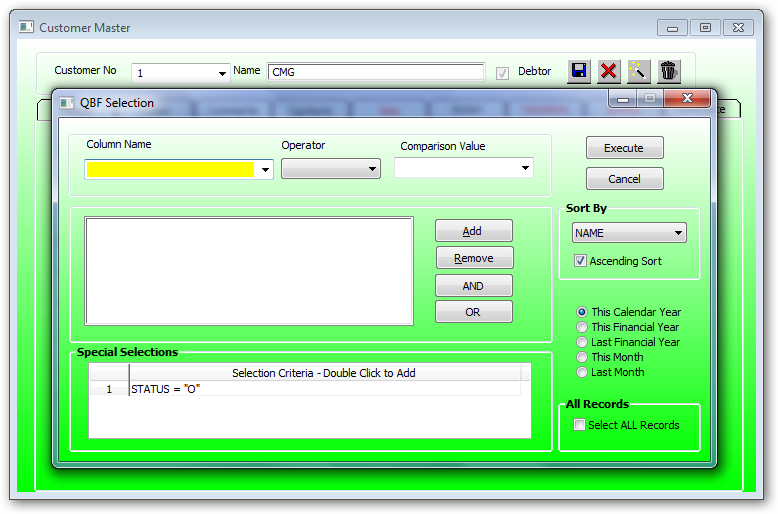
Query by form is used to select records with a file. Before the buttons below are enabled the user must select a data bound form. In this example we will use the customer form. Other typical forms would be the debtors master file, Creditors Master file, Job master file, Inventory file` etc.
This process is very useful to change customer data for customers with common data as per example below.
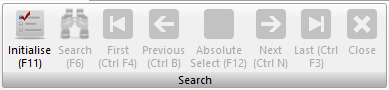
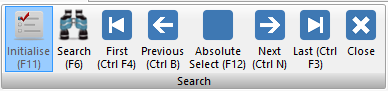
After selecting the frm click on the Initialise (F11) button the other buttons will be highlighted to start the selection process:
Column Name:
Press the drop down to display available column names within the file attached to this form.
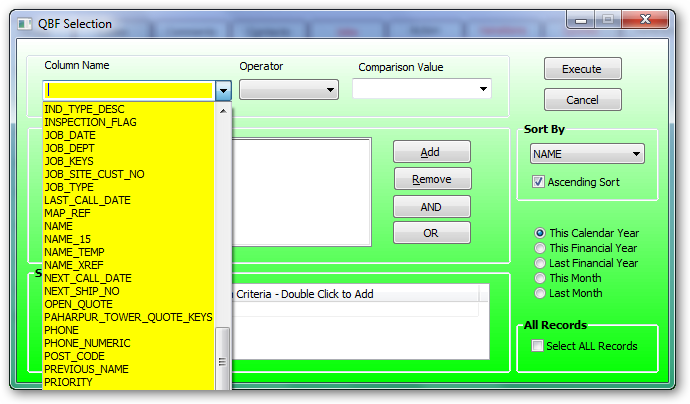
In this example we will choose postcode.
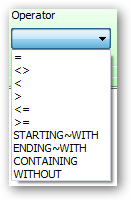
= Equal To
<> Not Equal to
< Less Than
> Greater Than
<= Less Than and Equal To
>= Greater Than and Equal To
Comparison Value:
This is usually a literal value such as text or a number.
If the drop down is pressed a popup of existing dictionaries can be used as a comparison value. THIS IS NOT A COMMON SELECTION CRITERIA.
In our example we will select the customer file with postcodes between 2 values.
The first value is 2140.

Press Add to save the first selection criteria.
For the second selection repeat the above.

Press Add to save the second selection criteria.
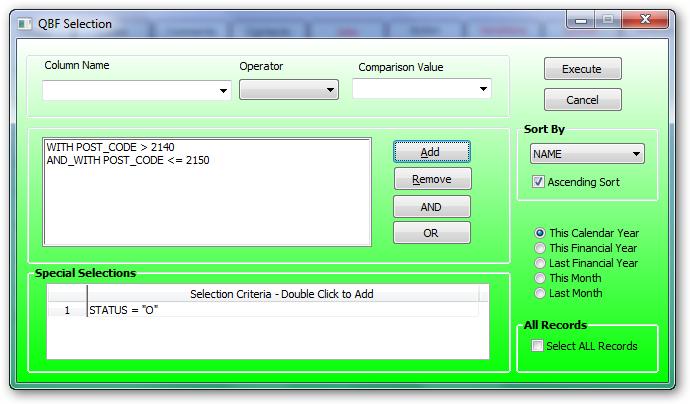
The above selection with select the customer file with post code greater than 2140 therefore not including post code 2140 and with post code less than and equal to 2150 thus including postcode 2150
Sort By:
The default sort by is that used when this QBF was set up, but can be changed by pressing the drop down and selecting another dictionary.
Press Execute to start the selection process.
After the completion of the selection you will be presented with the original form filled with data of the first entry of the selected records.
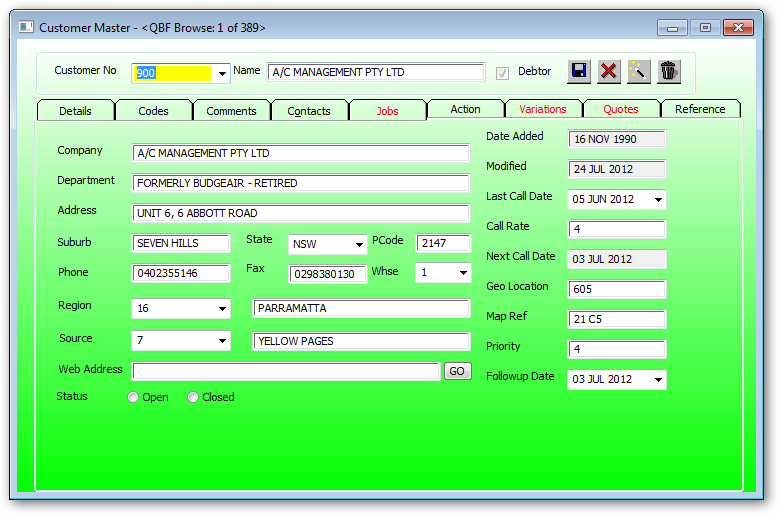
This is the first customer starting with name "A"
Use the arrows to move to the next customer or the previous customer.
After a successful selection the form heading will indicate the number of records in the browse list.
Press or F12

Choose Items to Display to change or display the browse list
Double click on the popup name for the data required for display.
After pressing the Customer Popup name:
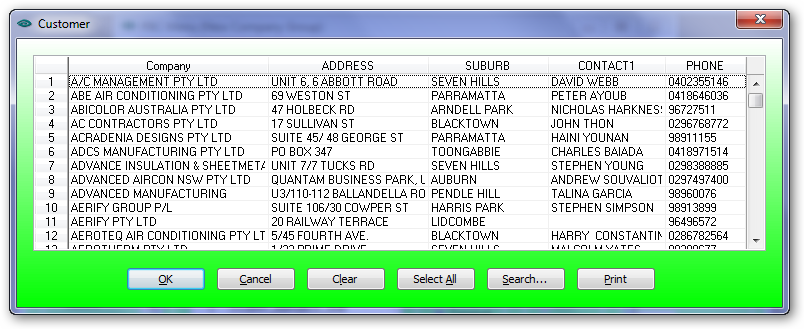
You will be presented with all the customer details as per the selected post codes.
In this example there are 389 customer records passing the selection criteria (post codes).
If you wish to change this selection the highlight:
In this example the popup was sorted by suburb by clicking on the suburb heading. Then selected all suburbs "KINGS LANGLEY".
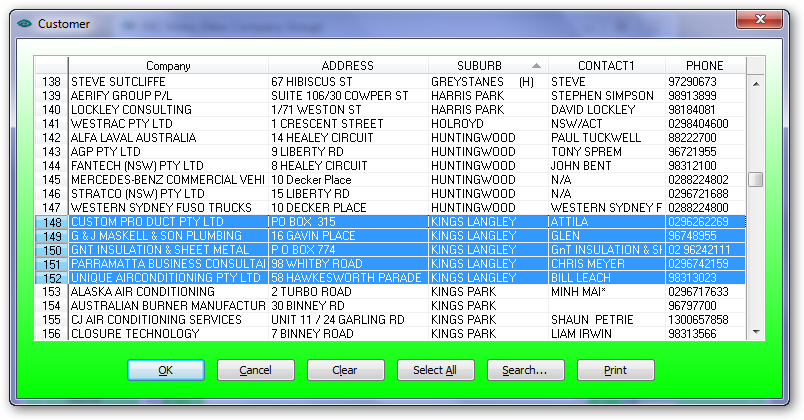
Then press OK to change the customer selection from 389 to 5.
The first customer displayed will be "CUSTOM PRO DUCT PTY LTD"
Any changes to customer details can be altered. Pressing the save button will proceed to the next customer record.
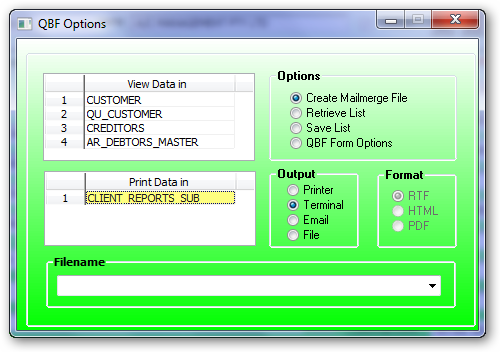
•Create mail merge file
•Retrieve List
oTo recall a previously saved list
oSave the existing selected list
o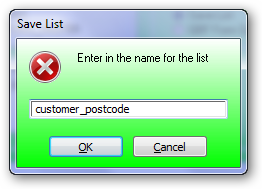
oThen
o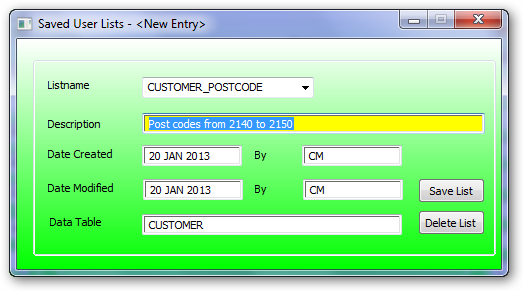
oEnter the description of the saved list
oPress Save list to complete the save process.
oThis is used to set up the QBF options for this form.
o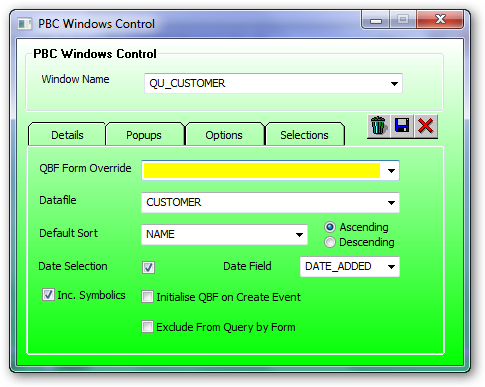
oQBF form Override
oLeave blank as this is usually this form.
oDatafile:
oEnter the data file. This is always the file associated with this form.
oDefault Sort:
oThe sort field presented when starting the QBF process.
oInc Symbolics:
oTick this box to include calculated fields when using the drop down in the selection process.
oInitialise QBF on Create Event:
oTick this box if this QBF process is always invoked when opening this form. NOT usually selected.
oExclude From Query by Form:
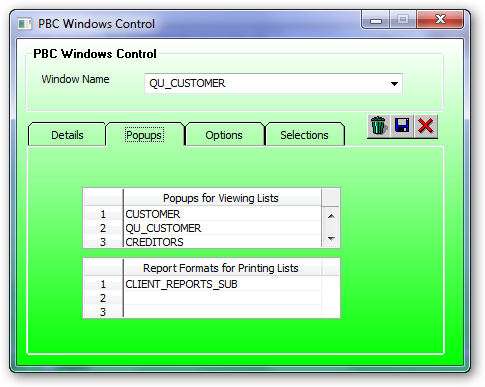
Double click on Popups for Viewing List to display available popups in the PBC software.
Options

These options are used to match the selected field and the comparison drop down. This is to let the QBF function know what popup to use for fields that have a corresponding popup for selection.
Double click on the options field to select a field with a matching popup and double click on the popup name to select the appropriate popup.

Enter any text that can be uploaded to the selection process. This can make it easier for the user to quickly add this selection without having to go through the complete selection process.
Don't forget to save the new QBF setup options.